
You can run your favorite Android games more smoothly if you enhance the gaming performance in BlueStacks. To accomplish this, you will need to commit additional resources to this software, such as employing a discrete GPU as well as dedicating more CPU cores and RAM.
The most recent version of the software that allows our Windows 10 machine to run Android apps is Bluestacks 4. Most of the time, it is utilized to play Android games on a PC because using a keyboard and mouse improves the gaming experience. It is completely free to use and has been downloaded over 210 million times.
How to Boost Your Gaming Experience On BlueStacks?
Do you want to enhance your gaming experience on BlueStacks but it’s not running smoothly on your PC? No need to worry as there are several ways to fix this. Here are some methods that you can try.
First, Restart your computer before attempting any other method, try restarting your computer and check if the problem still persists.
ad

Method 1: Allocate More CPU Cores and RAM to BlueStacks 4
Allowing BlueStacks 4 to utilize more CPU cores and RAM can greatly improve its performance. But before doing so, ensure that virtualization is enabled on your computer. Here’s how:
- Click the Start button.
- Click on Task Manager.
- Click on the Performance tab.
- Click on CPU located on the left pane.
- Check if Virtualization is enabled.
Once you have verified that virtualization is enabled, follow these steps to increase CPU cores and RAM for BlueStacks 4:
- Open BlueStacks 4.
- Click the Menu button (three horizontal lines) located on the top right part of the app.
- Click Settings (gear icon).
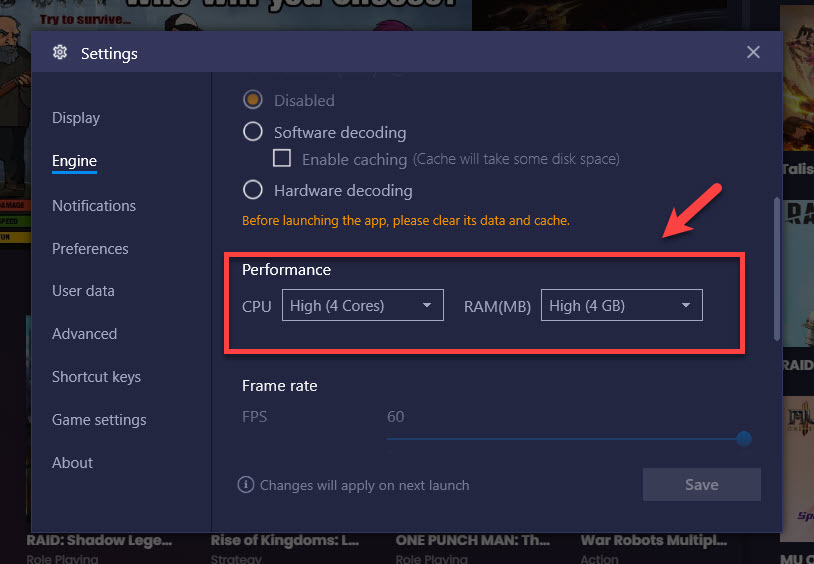
- Click Engine.
- Adjust the CPU and RAM to their maximum values under the Performance section.
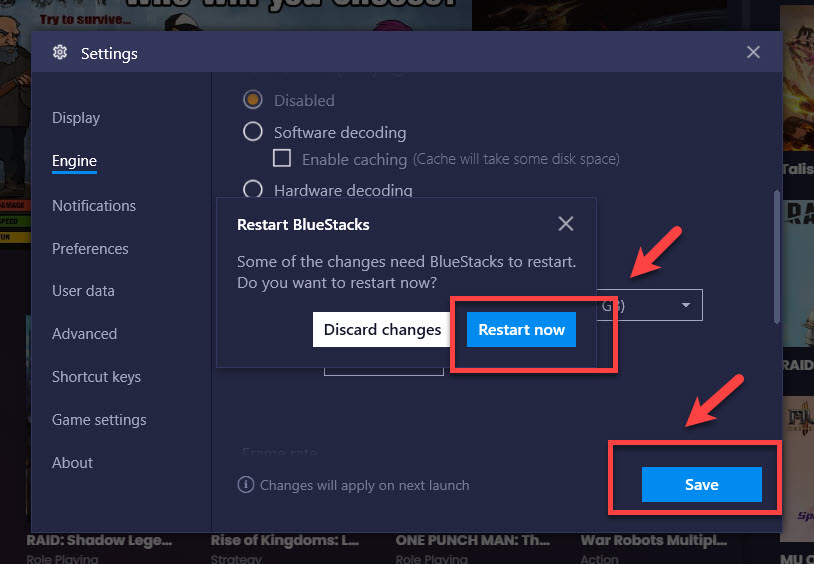
- Click Save and restart BlueStacks 4.
Method 2: Use the Discrete GPU of Your Computer
If your computer has both integrated and discrete GPUs, it’s best to force BlueStacks 4 to use the discrete GPU since it’s more powerful. Here’s how:
You should first make sure that virtualization is enabled in your computer.
- Click on the Start button
- Click on Task Manager.
- Click on the Performance tab.
- Click on CPU found on the left pane.
- Make sure Virtualization is enabled.
Once you have made sure that Virtualization is enabled proceed with these steps.
Allow BlueStacks access more CPU cores and RAM
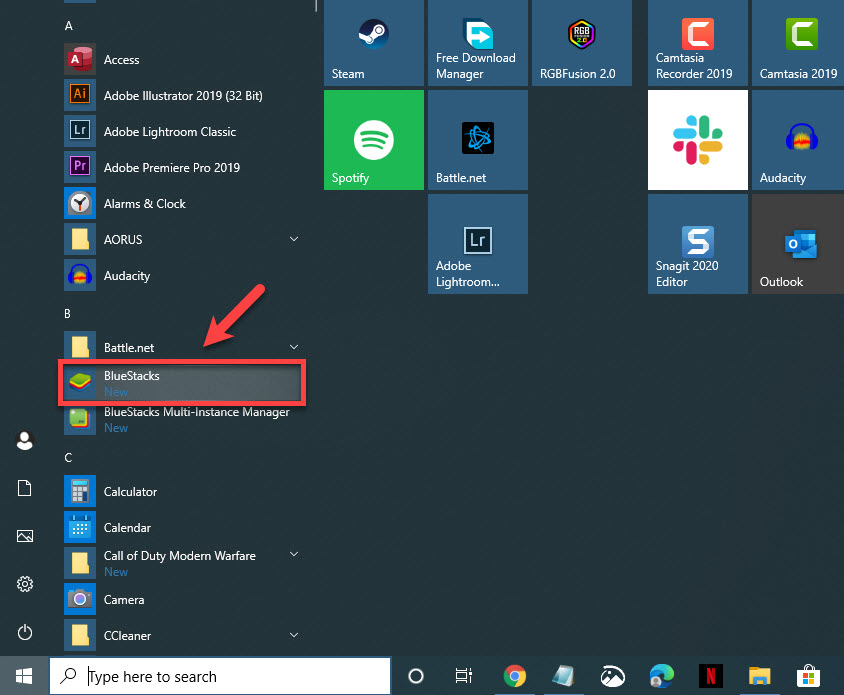
1. Open BlueStacks 4.
You can do this by clicking on it from the Start menu list of applications.
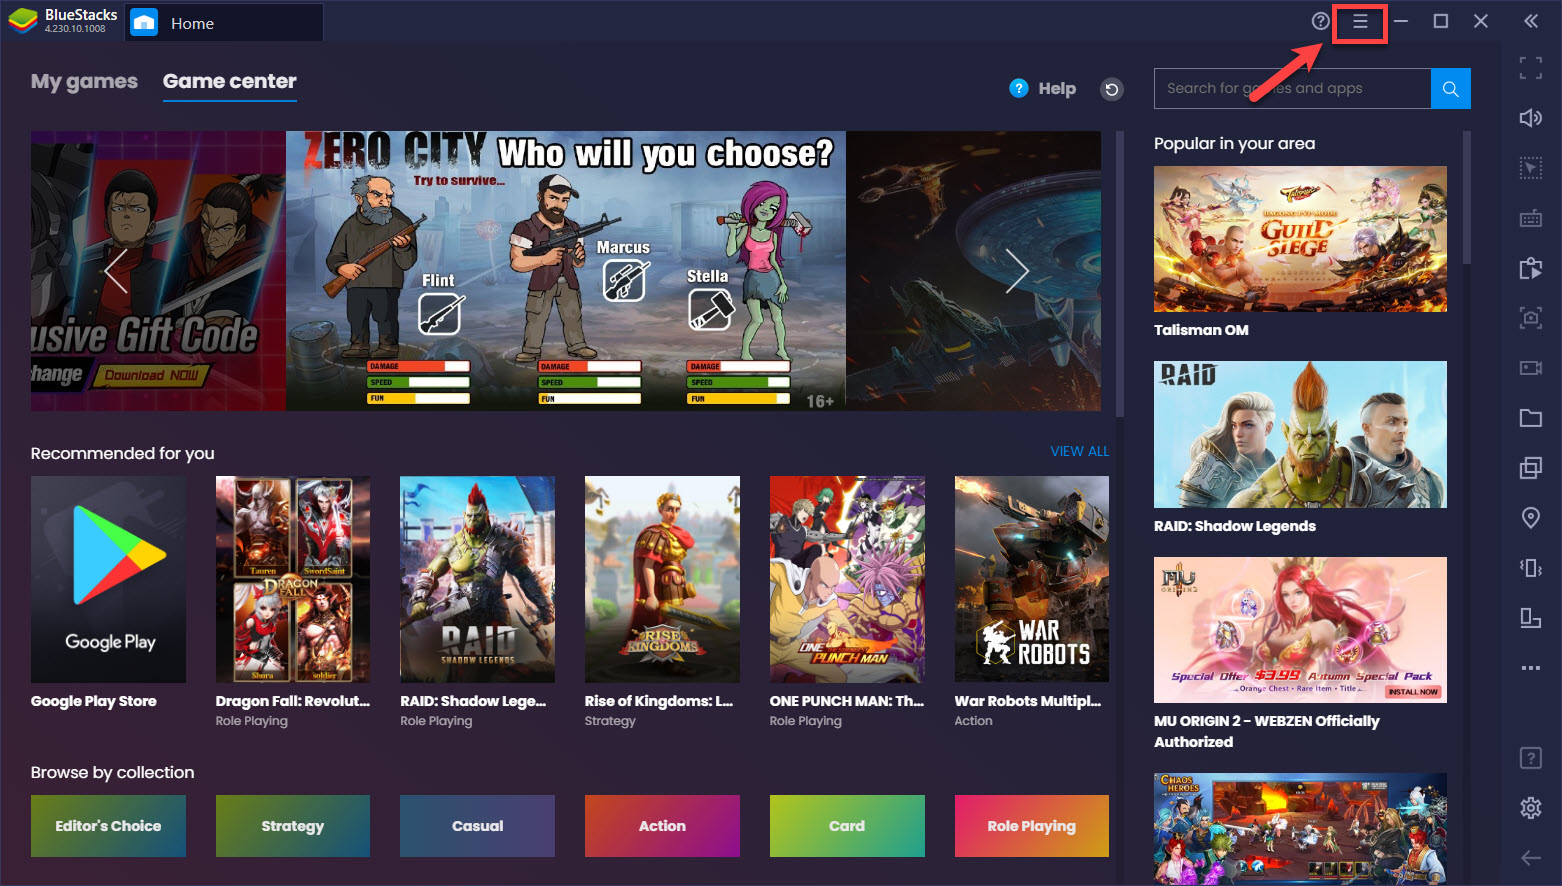
2. Click on the Menu
This is the three horizontal lines on the top right part of the app.
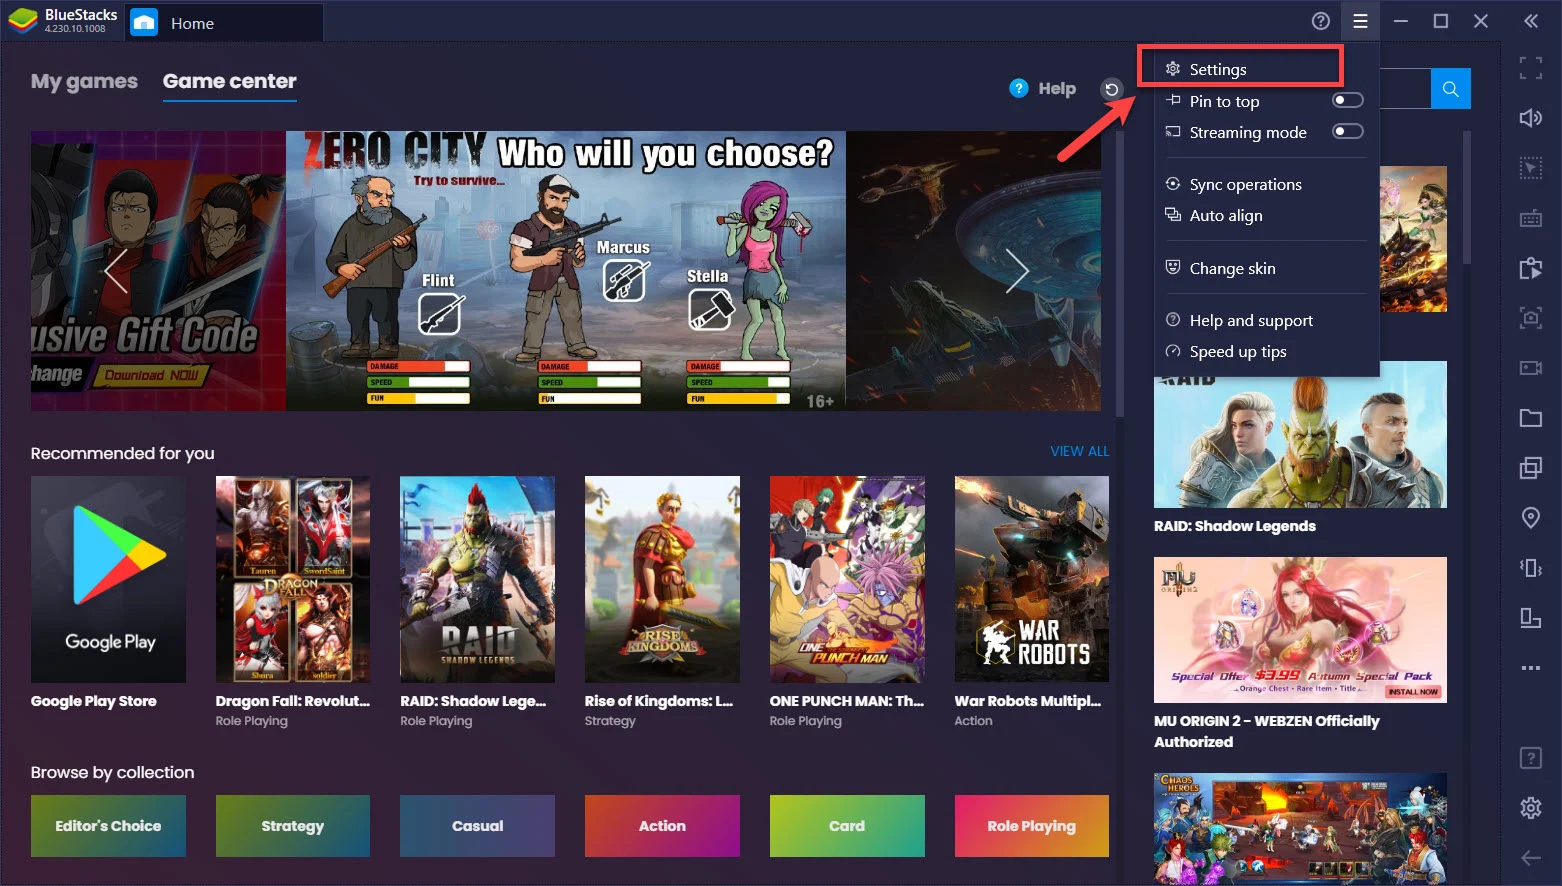
3. Click Settings.
This is the first icon shaped like a gear.
4. Click Engine
This can be found on the left pane.
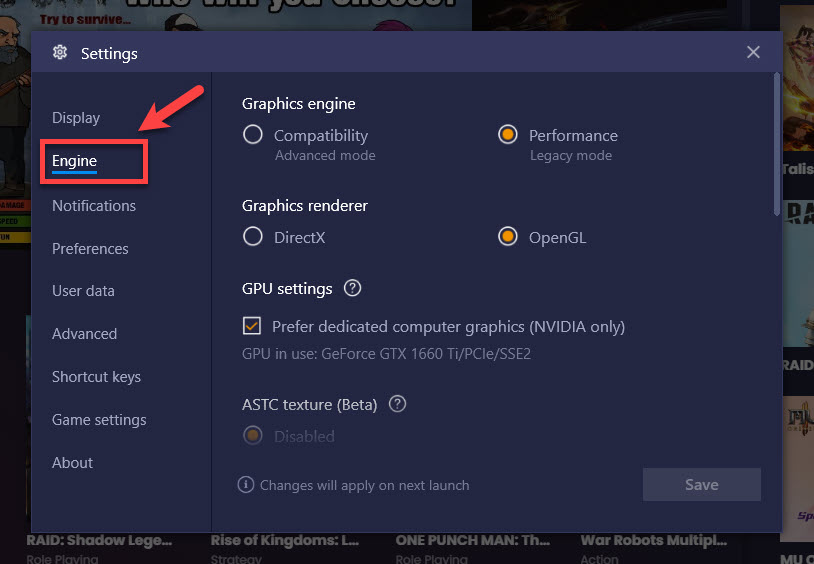
5. Choose the maximum value for CPU and RAM.
This can be found on the Performance section
6. Click Save then restart Bluestacks.
This will save the changes that you made.
Method 2: Make use of your computer’s discrete GPU
If your computer has both an integrated and discrete GPU, you should compel BlueStacks to utilize the discrete GPU because it is the more powerful of the two.
- Launch BlueStacks 4.
- Select the Menu option.
- Select Settings.
- Engine, click.
- Under GPU options, select “Prefer dedicated computer graphics (NVIDIA only)”.
Following the procedures outlined above, you will be able to successfully improve gaming performance on BlueStacks 4.
ad
Comments are closed.