BlueStacks is an Android Emulator software that brings Android latest version to a Windows PC. It gives you the ability to use the mouse and keyboard from your system with Android apps. And, unlike a smartphone with a fixed-size screen, you may resize this emulator windows to make apps larger or full screen.
Not every Android app offers a Windows, macOS, or web-based equivalent. Bluestacks is an easy way to gain access to Android apps on your Windows computer.
It can run multiple Android apps at once, and each app opens in a new tab within this emulator. It also offers a multi-instance mode that runs multiple instances of the same app, which may appeal to productivity buffs and gamers. It also enables streaming Android gameplay live to Twitch.
Step by step guide to use Bluestacks on Windows 10
To run BlueStacks 5, you’ll need:
- A computer with Microsoft Windows 7 or newer.
- An up-to-date graphics driver.
- An Intel or AMD processor.
- At least 4 GB of RAM.
- At least 5 GB of storage available.
You’ll also need an administrator account on your Windows PC to install BlueStacks. For the best experience, you’ll want Microsoft Windows 10, 8 GB (or more) of RAM, SSD storage, and a fast graphics card or capabilities.
How Does Bluestacks Work
- Download And install Bluestacks 5
- Download the game of your choice from the Google Play Store within BlueStacks
- Use built-in default controls or customize bluestacks game controls
How to Install BlueStacks For Windows 10
Before you can install Android apps on your Windows or macOS computer, you’ll need to install the BlueStacks app.
- Select Download BlueStacks.
- Save, then run the downloaded file. The download and install process may take some time, especially if you have a slow internet connection or a slow computer.
- BlueStacks should automatically start after it installs. This may take some time, depending on the connection and your computer.
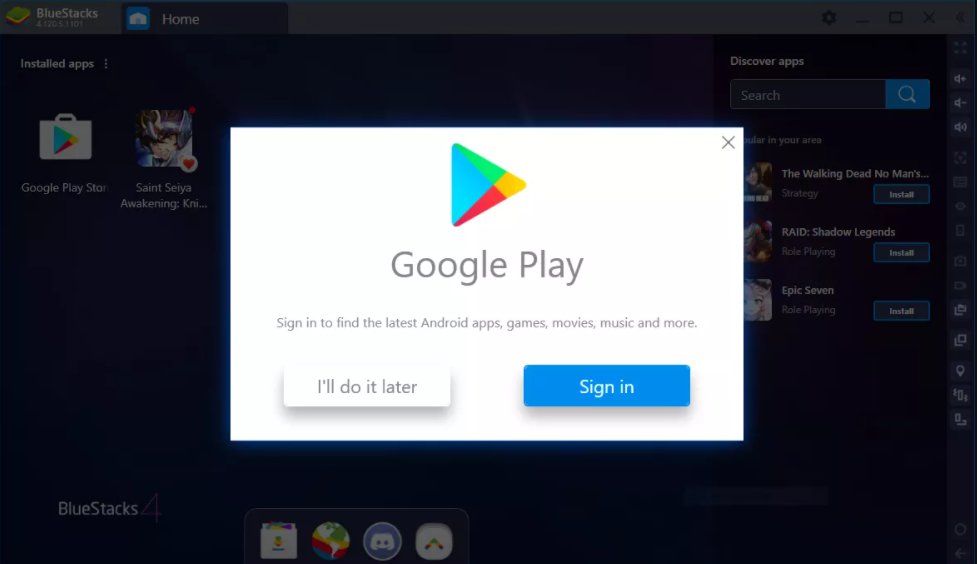
- Once started, This Android Emulator for PC that gives you the opportunity to sign in to your Google Play account. You’ll need to go through the Google Play sign-in process to access, install, and use Android apps from the Play Store.

- After you complete the Google Play sign in, you’re set to install Android apps.
How to Install and Use Android Apps From the Google Play Store With BlueStacks
After this android emulator is installed on your PC, you can download and install Android apps to use from that computer.
- If BlueStacks isn’t open and running, select BlueStacks to start it.
Select Google Play to open the Play Store.
- Browse or search for the Android app you want to install. Select the app to see it’s details.

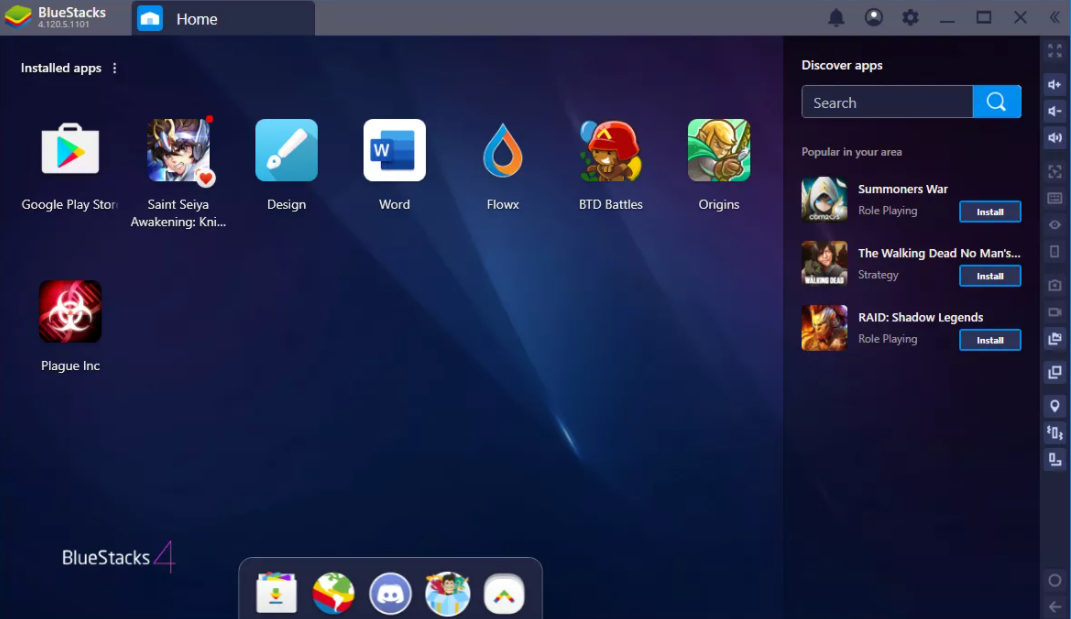
Select Install to download the app to your computer. The system displays an icon for each installed Android app within the BlueStacks app.
- Select the app icon to run the installed Android app.

In this app, each app opens in a separate tab. Switch between tabs to switch between running Android apps.
- By default, It displays a sidebar with several controls to the right of the Android apps. Use these controls to adjust app volume, change keyboard controls, capture screenshots or recordings, set your location, virtually shake the device, or rotate the screen.
