How To Post A Live Photo On Instagram
Live Photos, which combine video and GIF imagery to produce something more interesting than a still image, are a great addition to newer iPhone models. Live Photos breathe life into still images! This photographic innovation from Apple does unquestionably more than simply capture a moment in time (as all still images do); it gives your images life.
Major social media sites like Twitter and Facebook decided to start utilizing Live Photos when Apple released them as a feature. The photo-focused social media platform Instagram stood out among the other well-known platforms.
ad
It took some time to figure out how to post a Live Photo on Instagram, especially given the delay in rolling out this feature by Instagram. With just a little fiddling, it is at least possible.
Make sure you understand how to take Live Photos before reading the instructions for posting a Live Photo on Instagram. I don’t think you’ll ever return to still images after you do that!
📚 Also Read:
How to find our where a picture was taken
ad
How To Replace A Photo On Instagram After Posting
How to View and Take Live Photos on Instagram
With Live Photos, you can record a scene with sound and movement in addition to a fantastic photo. According to Apple’s Live Photo help page, your iPhone records everything that happens in the fraction of a second before and after you press the shutter. Like a regular photo, a live photo can be taken in the same manner. This is the procedure.
- the camera app on your iPhone.
- By tapping the bullseye icon at the top of the screen, you can enable the Live Photos setting. At the top, a yellow LIVE box appears.
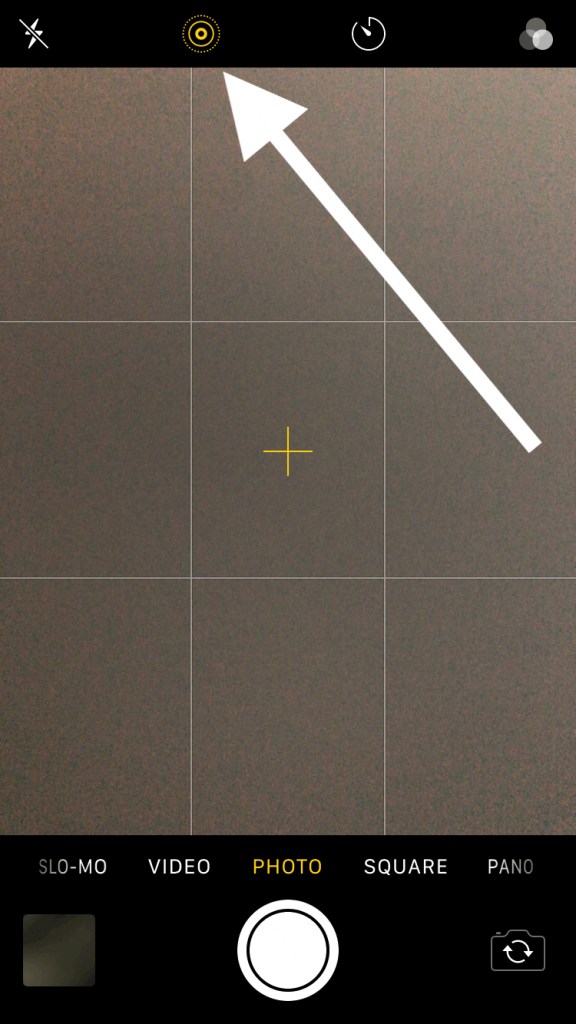
- When you’re ready to take the photo, position the camera still, press the white circle shutter button at the bottom once, and hold your position for at least 1.5 seconds. Additionally, audio is recorded and later edited or changed.
The 1.5-second Live Photo will then be taken by the camera. Keep the device as still as you can while taking Live Photos to ensure the best quality. Another way to guarantee that your Live Photos are excellent is to frame the shot beforehand.
You should be aware of background noise and what is going on around you unless you decide to mute it later because it records audio and images.
Live Photos can be captured using either the front or back cameras. Taking too many photos will quickly cause you to run out of space because the Live Photo is 1.5 seconds long and in high resolution. One Live Photo is made up of a 3-4MB.mov file and a 2-5MB JPEG, so they quickly fill up your phone’s storage.
Because of the aforementioned, you should only use Live Photos when you have plenty of storage or use iCloud to store your photos. Otherwise, it’s preferable to enable Live Photos when you specifically intend to take one.
How to View Your Live Photos as Animations and Edit Them
Live Photos can be viewed in the same manner as other photos, just like regular photos. The image can also be seen animated, but that requires an additional step. The image can be modified as you see fit and uploaded to Instagram.
- Open the Photos app and you’ll see your Live Photos there, displayed as regular photos, along with the rest of your pictures.
- You can identify Live Photos by the bullseye icon with the word LIVE at the top of the picture. This symbol is just a display element; it’s not actually on your photo.
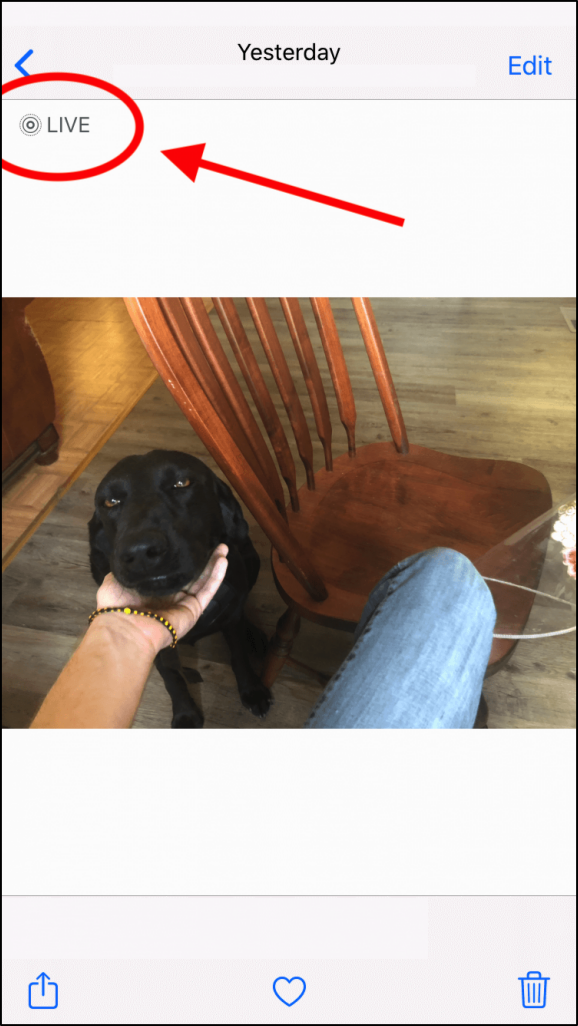
- Simply long-press your Live Photo to view it as an animation, and the video or animation will begin playing right away.
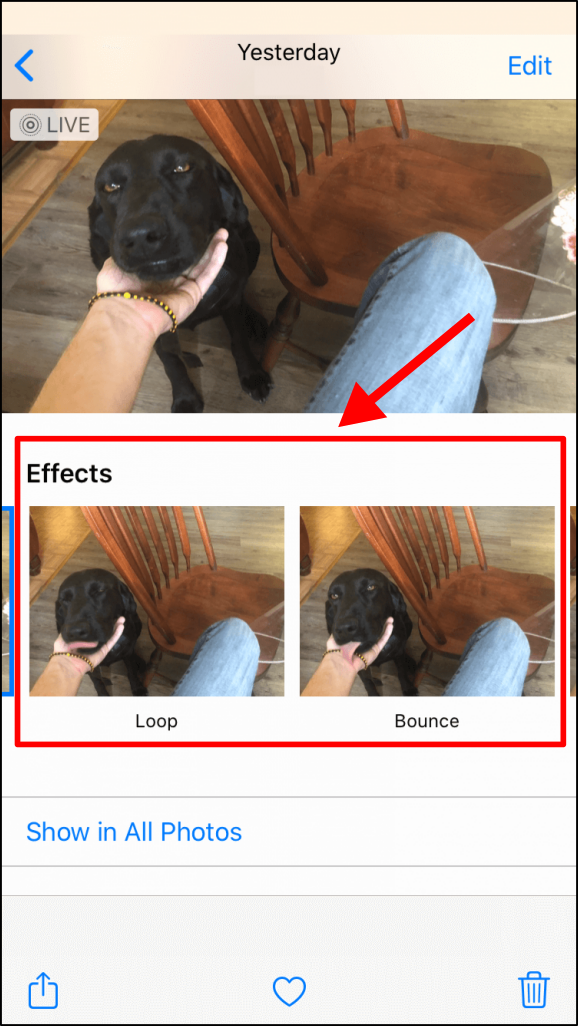
- To play the image as an animated Loop, Bounce (also known as Boomerang), or Long Exposure, swipe up on the image. What you selected is stored on your iPhone.
- To edit your Live Photo, tap on Edit in the top-right section.
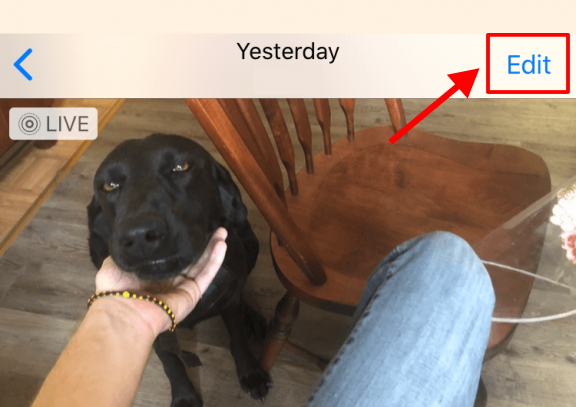
- There is a separate section for Live Photos in addition to the standard editing options for images. On the edit screen, click and hold the bullseye.
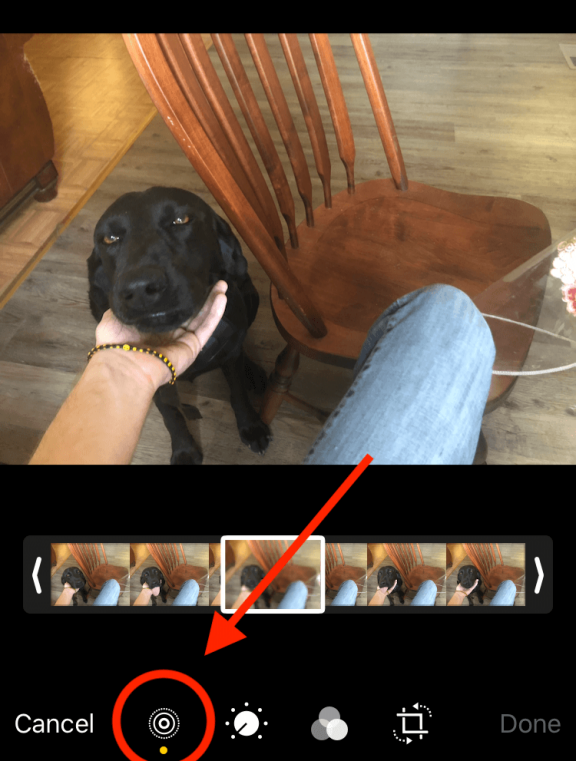
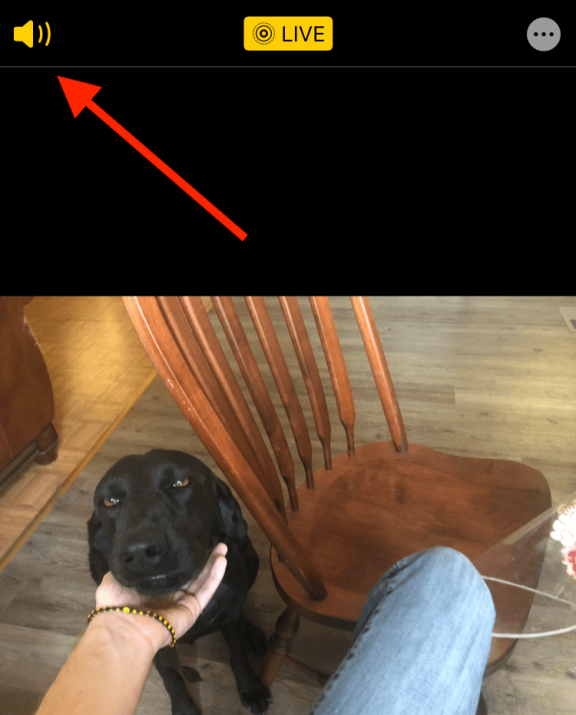
- When you get there, tap the yellow speaker icon in the upper-left corner of your Live Photo to silence the audio.
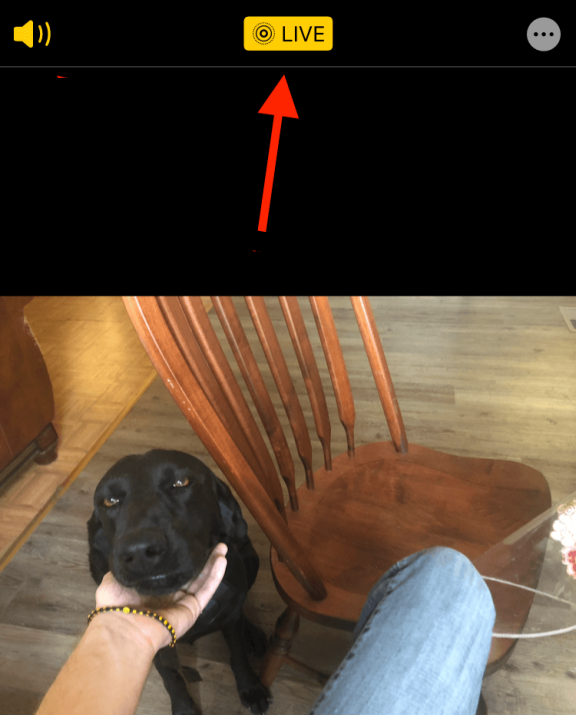
- Tap the Live button in the top-center area to make the Live Photo feature inactive so that it acts like a still photo. Even though you can’t play it in the Photos app, it will still be a Live Photo file.
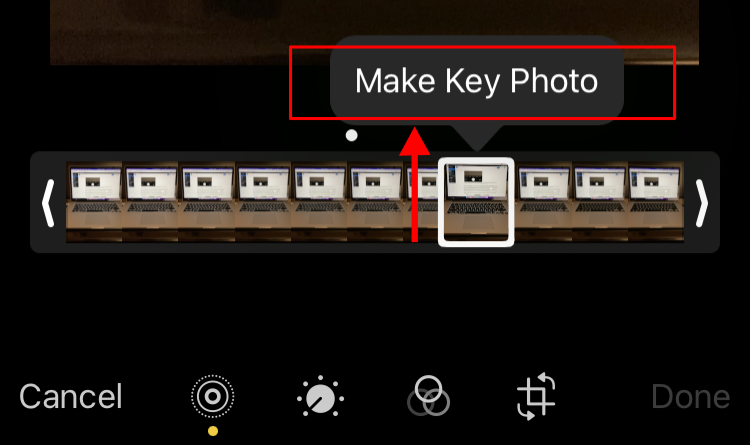
- Select a thumbnail from the list of still photos at the bottom, then tap on Make Key Photo to change the Key Photo of your Live Photo.
Your Live Photo is now edited and ready to post to your Instagram Story. Remember, you cannot upload the Live Photo as an Instagram post directly, but you can post it to IG Stories. Instagram automatically converts it to a “Boomerang” file before publishing it to your Story.
How To Share A Live Photo On Instagram
The iPhone 6 and later models have an elegant feature called Live Photos. Live Photos are more like videos than still photos because they record a 1.5-second video and audio instead of just taking a picture, as was already mentioned.
That brief recording is a Live Photo because it combines audio and video. Contrary to what the name suggests, Live Photos aren’t actually photos and aren’t happening in real time. Instead, if you long press on them, they behave more like miniature animations that only display one frame at a time (an image).
The name suggests a photograph that is alive rather than a live event. It’s a live photo because it resembles the animated photos in Harry Potter in that it appears to be a still image that comes to life.
Instagram has been very slow to adopt the use of Live Photos even though it is all about images. Instagram only allows videos of 3 seconds or longer as of this writing. It won’t work because a Live Photo lasts only 1.5 seconds. A Live Photo from your iPhone will only appear as a still image when you upload it to Instagram.
The Live Photo can be posted on Instagram as usual, but the purpose of it being a Live Photo will be defeated because it will only display as a still image.
The Live Photo can be changed into a Boomerang as a workaround.
Can You Make A Live Photo Into A Boomerang?
By changing your Live Photo into a Boomerang, you can cut your 1.5-second Live Photo in half and make it last for just one second, which is the length of a Boomerang. Good news: Live Photos frequently turn into fantastic Boomerangs.
Instagram’s version of brevity videos are boomerangs. You can use it to turn a Live Photo into a Boomerang and it uses the burst photo mode on your camera to take a series of pictures that will produce a moving image.
Older versions can still be used with the procedure described below. If you have a new phone, go to the section after that for the options that apply to it.
Make a Live Photo into an Instagram Boomerang on iPhone 5 or Older
- Open Instagram and select the camera.

- By tapping the circle in the upper right corner and swiping up to choose your Live Photo, you can start a new story.
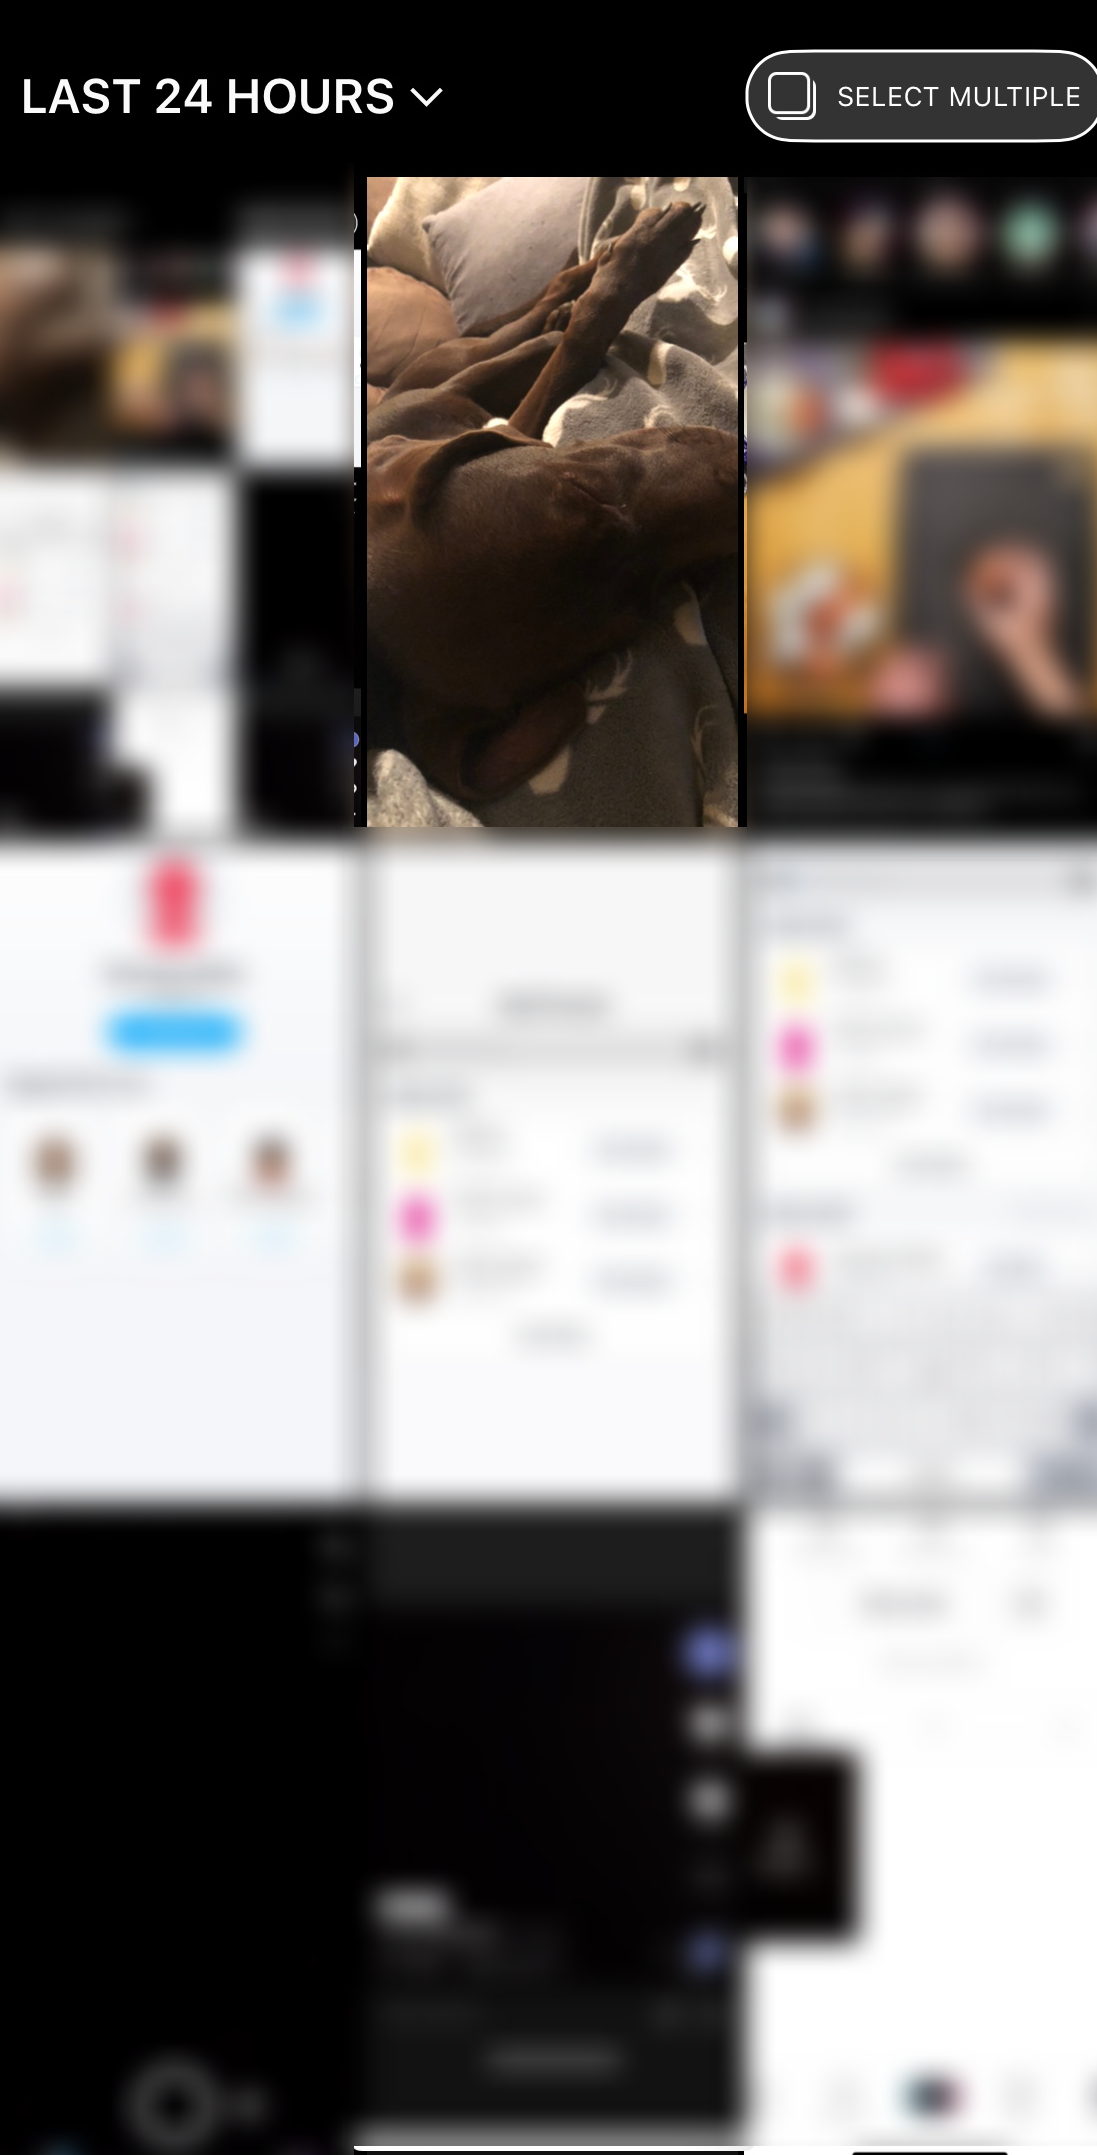
- Upload a Live Photo, then press and hold your finger on the screen. This technique uses 3D Touch to create the Boomerang.
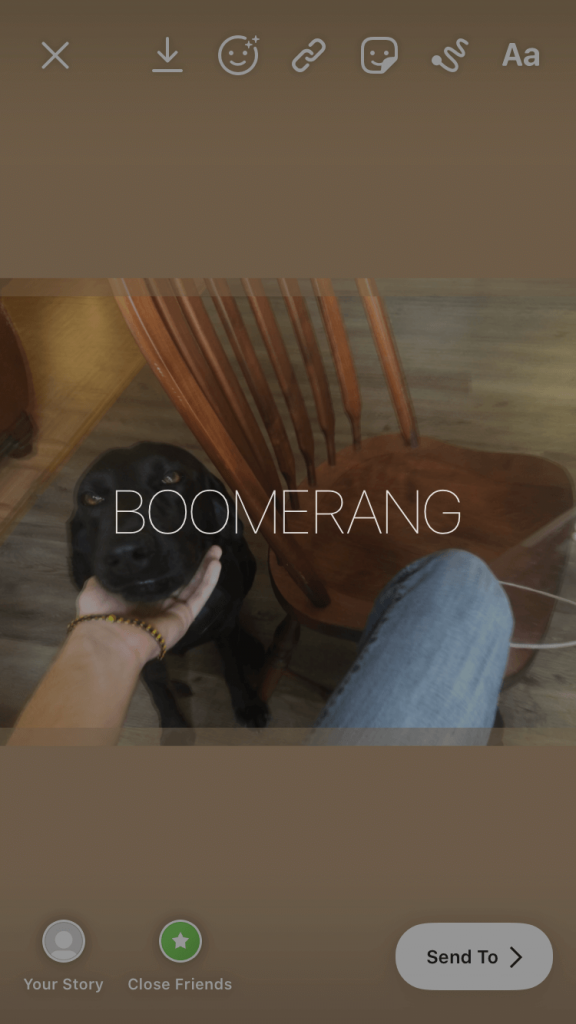
- Post the Boomerang to your Story and compose the rest of your post as you wish.
Although it isn’t the most elegant solution, it works while Instagram catches up to the times and starts collaborating with Live Photos.
Make a Live Photo into an Instagram Boomerang on iPhone 6 and Newer
Try this if you can no longer post the photo by pressing and holding:
- Open the Camera app on your iPhone and tap on Live Photos.
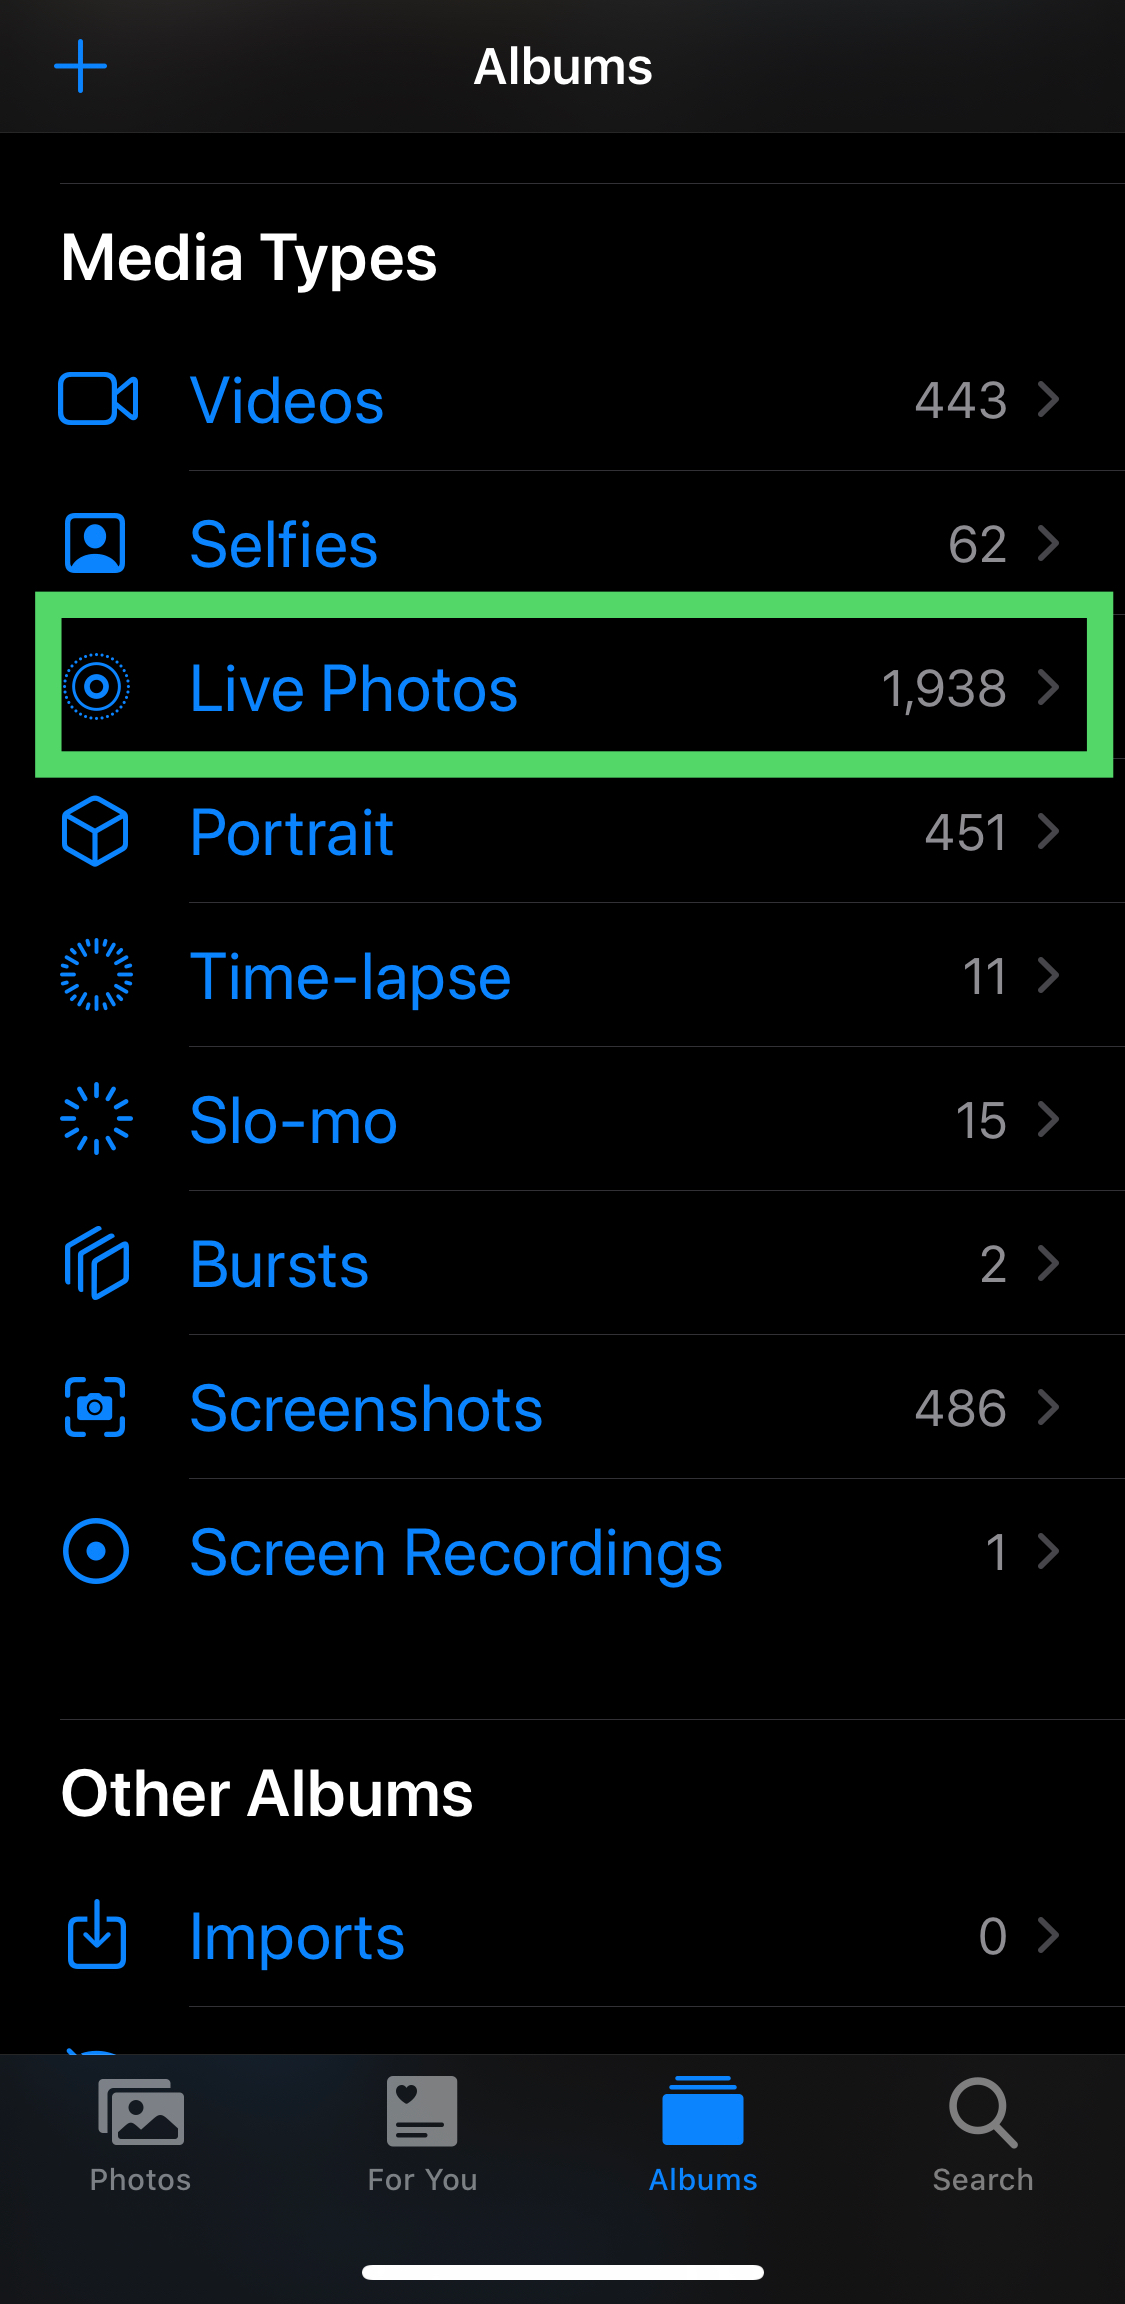
- Tap on the Live Photo you’d like to upload to Instagram.
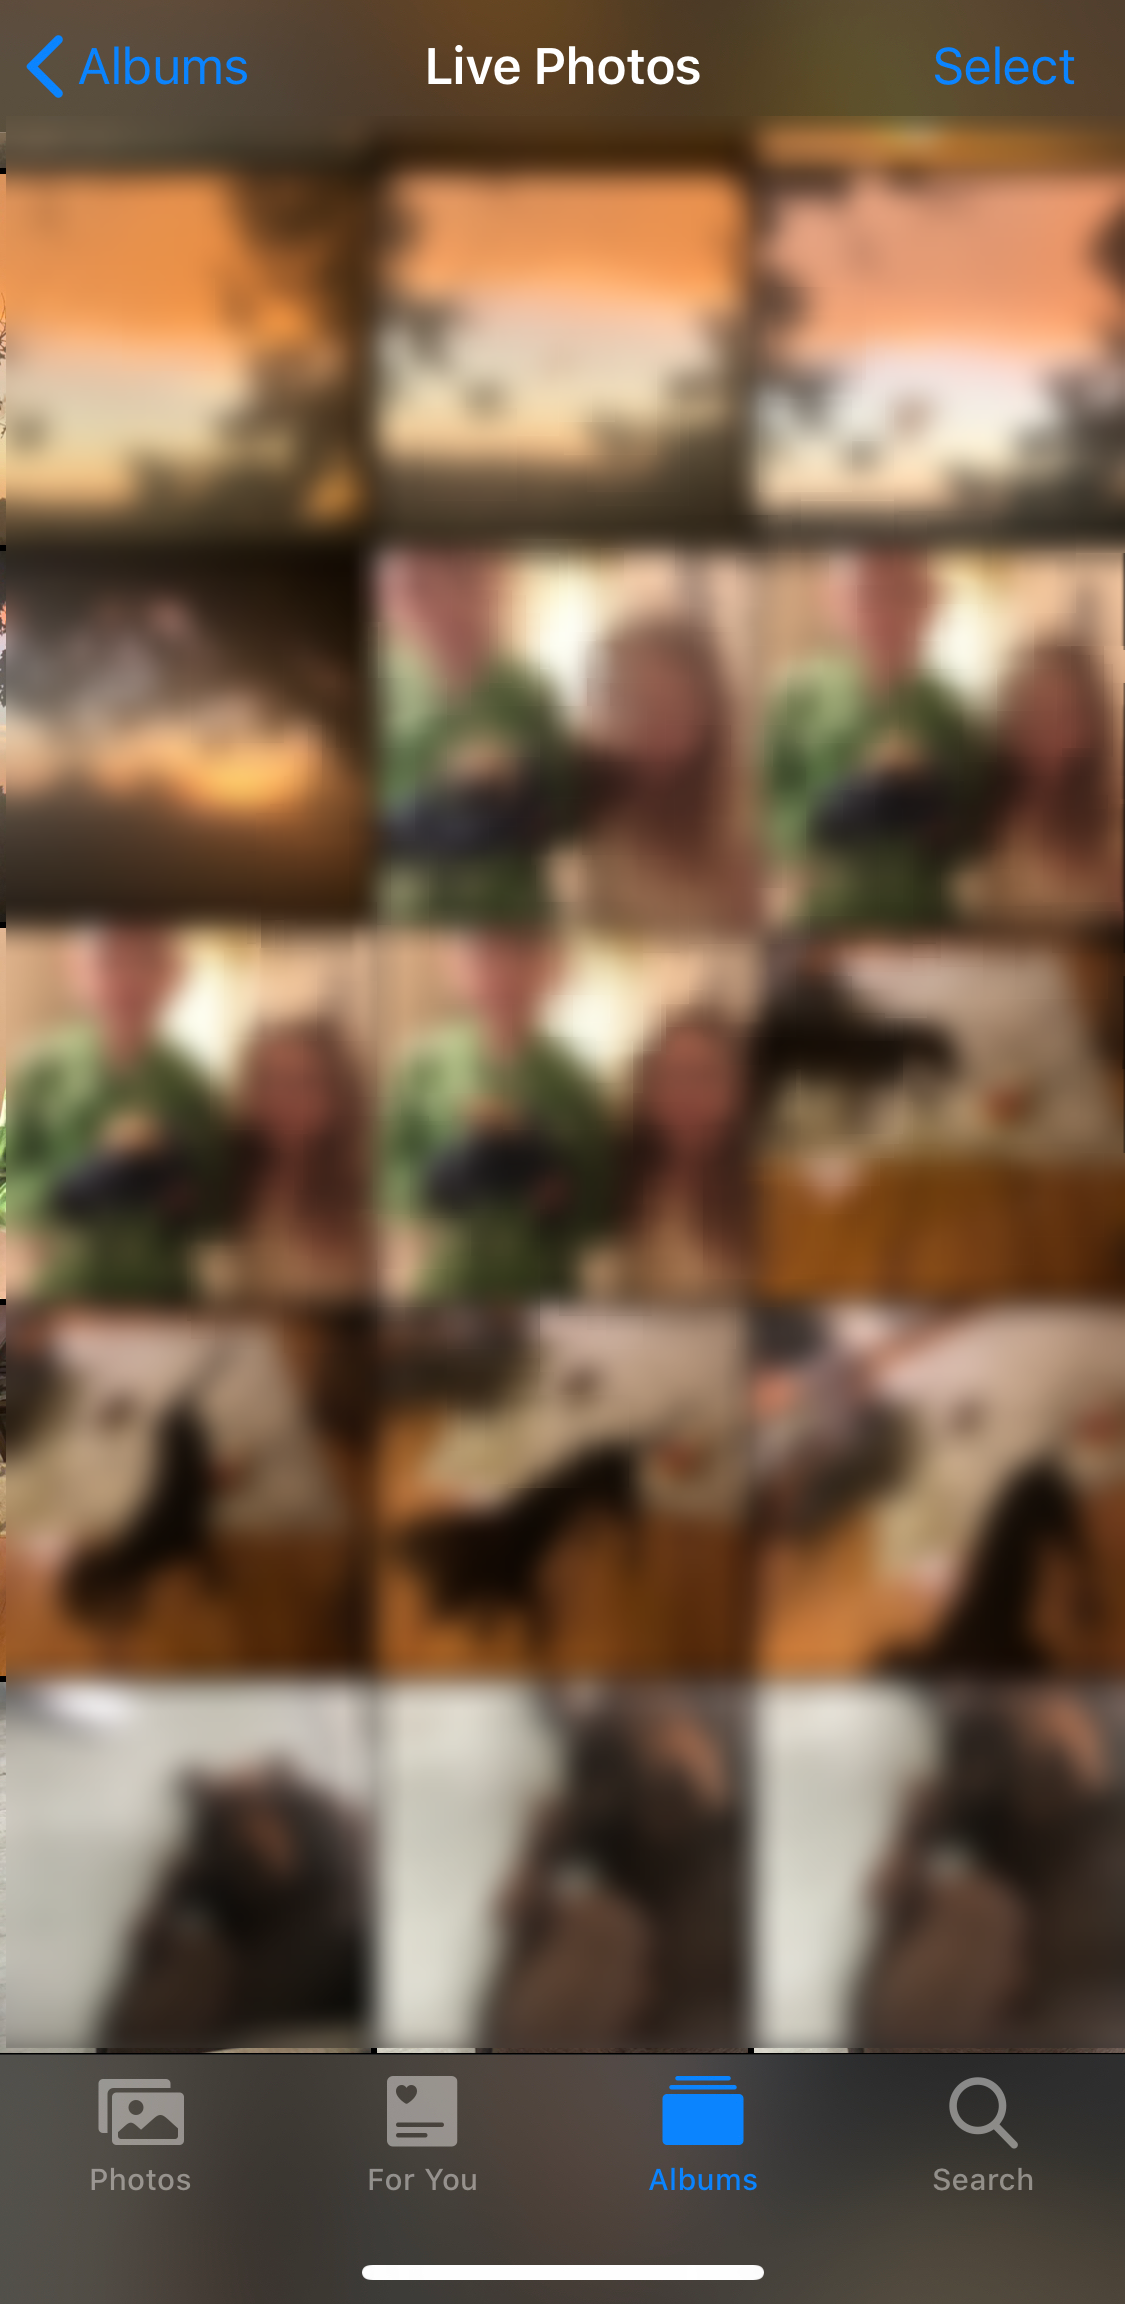
- Tap on the share icon in the lower left-hand corner once your photo is open.
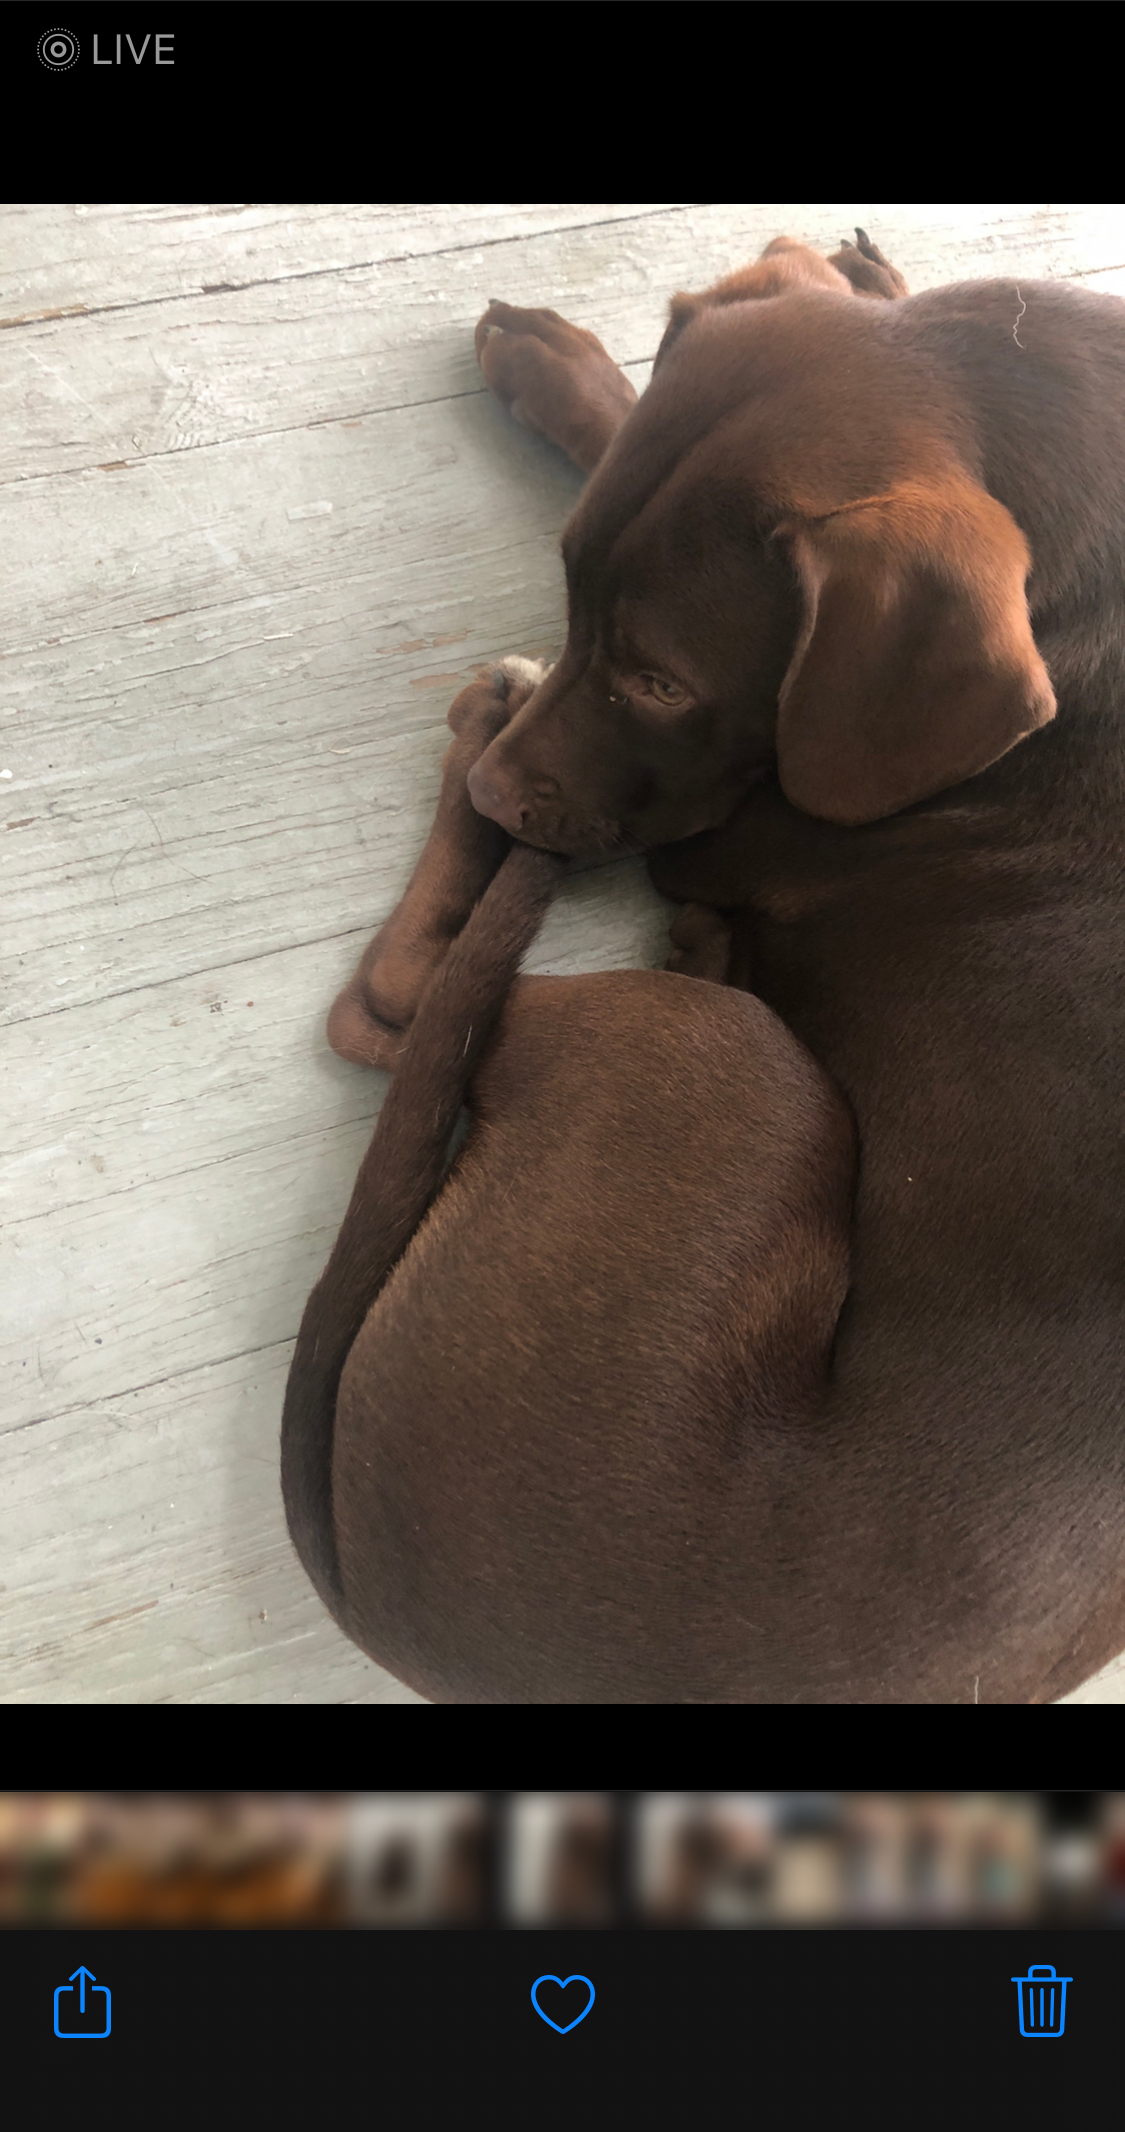
- Scroll down and tap Save as Video.
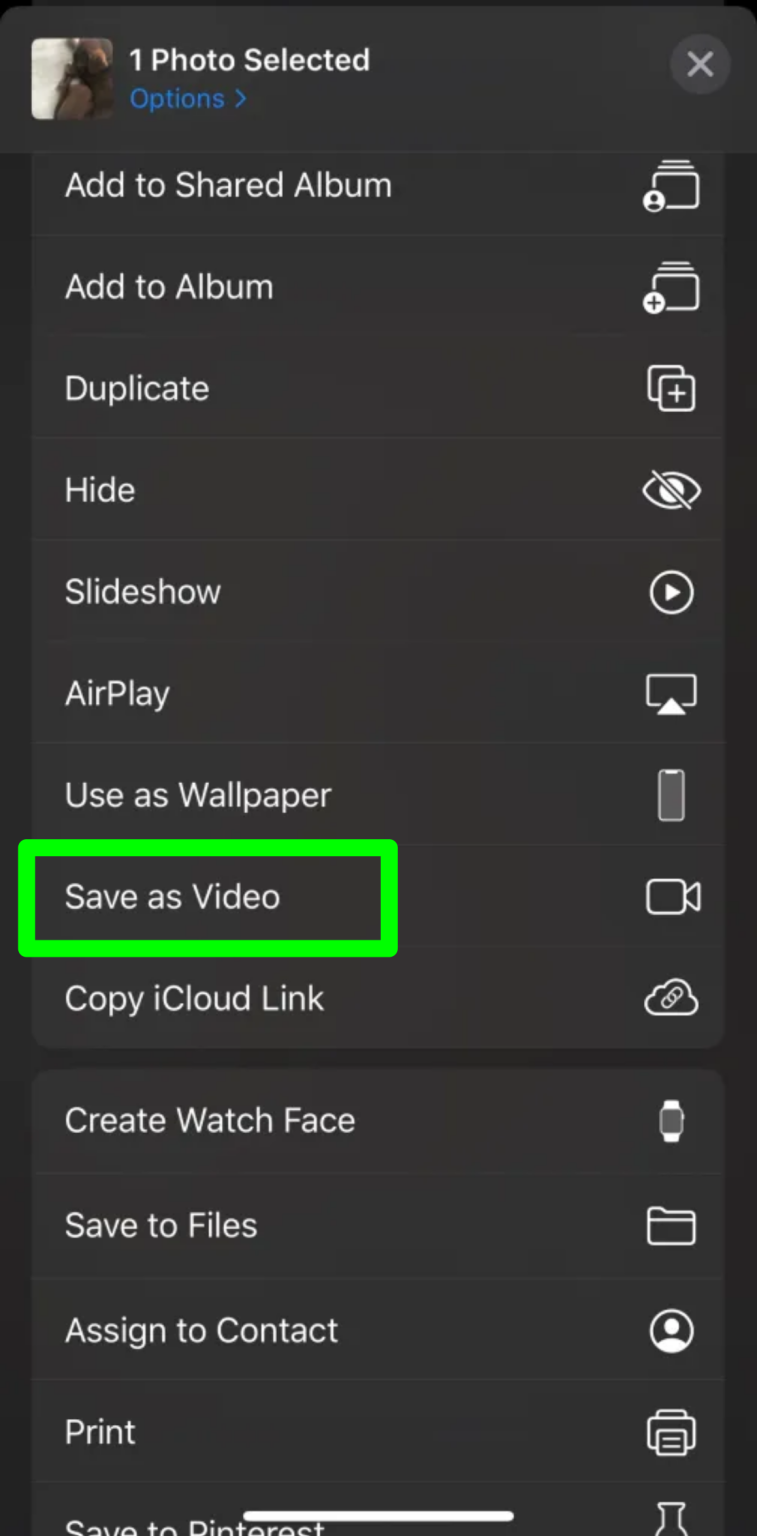
Once you’ve saved your Live photo as a video, go to Instagram and share it as you normally would.
Convert Your Live Photos To Animated GIFs
You could always convert your Live Photos to GIFs and upload them to Instagram if the aforementioned solution doesn’t work for you. Giftr creates distinctive animated GIFs using videos, stock photos, selfies, and live photos in addition to videos and brand-new Live Photos, while apps are limited.
You’re using Giftr for this topic to turn your Live Photos into animated GIFs that you can share on Instagram.
Lively and other apps are useful, but Giftr does the job well.
Can You Share Live Photos in Instagram Stories?
Similar to uploading a Live Photo to your Instagram Story, sharing Live Photos on Instagram uses the same basic format. Boomerangs are automatically created from your Live Photos by Instagram. Anybody you choose can receive your Live Photos (now called Boomerangs).
To upload a Live Photo on Instagram Stories and share it, follow these easy steps:
- Open your Instagram app, then tap the camera icon on the top left of the screen.
- Swipe up the screen to show photos in your phone gallery.
- Select the Live Photo that you want to upload to your Story.
- When your photo gets loaded in the editor, press firmly with a finger to enable 3D Touch on the screen. A loading wheel appears on the screen, and the word Boomerang shows.
- Tap Send to and Share.
Surprisingly, the app still has issues with live photos even months after Instagram allowed their upload. Instagram continues to use its “Boomerang” feature instead. When posting to My Stories, they at least enable Apple Live Photos to be uploaded and instantly converted to Boomerang files. For regular Instagram posts, you must turn your Live Photo into an animated GIF in order to prevent it from becoming a still image.
You must first turn a Live Photo into an animated GIF if you want to post it to your Instagram post rather than your Story.
Instagram Live Photos to Stories FAQs
Do Galaxy phones have Live Photos?
You do have Motion Photos, Samsung’s response to Live Photos from Apple. Despite the differences between them, both have the same objective—creating animated photos. The same procedures as above can be used to upload these. If you can’t save it as a video, upload it to Google Photos as a video.
Can I add stickers to my Live photos?
You can include stickers, the date, the time, and other elements just like you would with any other Instagram post.
Related Articles:
ad


Comments are closed.